Call me a data-hoarding snob if you must, but I’ll always stand by the plethora of NAS-centric services in my arsenal. My Proxmox Backup Server reduces my paranoia by creating regular backups of my virtual machines and LXCs, while Kopia performs a similar role for all my PCs. Heck, I’ve even paired my precious backup datasets with external clouds on my TrueNAS Scale NAS just to ensure my data doesn’t get lost.
However, there’s more to NAS applications than just backup utilities. For bibliophiles like myself, Calibre-Web makes it easy to manage ebook collections, and Jellyfin performs the same function for my TV shows. Paperless-ngx helps me maintain my sanity while organizing documents, while Immich is great for storing all the images I capture from my smartphone. And then there’s Syncthing, the latest addition to my self-hosted repertoire.

Related
5 irreplaceable services my NAS provides that I couldn’t live without
I rely on my little box of storage for a lot of things
What’s Syncthing, anyway?
It ain’t a backup solution, that’s for sure

As a file synchronization server, Syncthing is designed to keep files identical and up to date on all the systems connected to it. Due to its P2P nature, every device with a Syncthing instance can send/receive files and doesn’t require a central server like PBS to do all the heavy lifting.
What it isn’t is a backup solution. Rather than creating redundant copies of data from different PCs, Syncthing syncs them via bidirectional (or multi-directional, if you’re using it on as many systems as I do) links. Should you delete or modify a file on one machine is sent to each node in the Syncthing setup, it’s propagated to every other system and (without setting up send only or receive only parameters) overwrites the pre-existing, older variants of said file.
So, why would I choose Syncthing for my devices?

I first started looking into a file-synchronization utility after running into an issue earlier this month. You see, I recently upgraded an old machine I use for gaming to Windows 11, but opted for a fresh installation instead of retaining files. While I’d created backups of most documents before the update, my Steam saves for Helldivers 2 were completely busted – and not even Cloud Save could restore them.
If you’ve ever played the game, you might be familiar with the grind required to collect super credits to farm new warbonds. Since the last working backup was over a month old, I ended up losing more than a dozen hours of grind (and my precious experimental infusion booster). Had I deployed Syncthing instances and enabled file versioning on my PC and NAS, I could’ve easily averted this problem.
And now that I’ve started using Syncthing, I’ve come across other use cases for the app. Since I conduct most of my coding experiments on a Windows 11 VM hosted in my Proxmox server, I can leverage Syncthing to sync my painstakingly written scripts with my daily driver. I also create a lot of screenshots for my articles here on XDA, and with all the outages in my backwater town, Syncthing ensures I can access the high-resolution 4K images from my Mac even when the other non-UPS-powered devices in my arsenal drop-dead.
Deploying Syncthing on a NAS
Pretty easy for TrueNAS/Unraid users
While you could create any two systems as Syncthing nodes, I wanted to set up Syncthing on my NAS as well. TrueNAS Scale and Unraid both include Syncthing templates in their app stores, and the same holds true for TerraMaster’s TOS, Synology’s DSM, and other proprietary NAS distributions. But since I’m a staunch follower of the TrueNAS Scale faction, I rolled with it on my setup.
After selecting the right dataset for the app using the pre-made App Store configuration, I left most settings at their default values and deployed Syncthing as a container. The best part? The installation process took the same amount of time as the mere seconds you’d need to read this paragraph.
And connecting to it on my PCs
It’s available on almost every OS out there
With the Syncthing container up and running, it was time to create other nodes. An interesting bit about Syncthing is that the app works on literally every (functional) OS I could think of. Besides Windows, Mac, and Linux, Syncthing is available for FreeBSD, Solaris, NetBSD, Illumos, and Dragonfly. Heck, it’s even compatible with RISC-V and Arm systems, making it a great way to synchronize my coding documents with my Milk-V Jupiter and Radxa Orion O6 development motherboards.
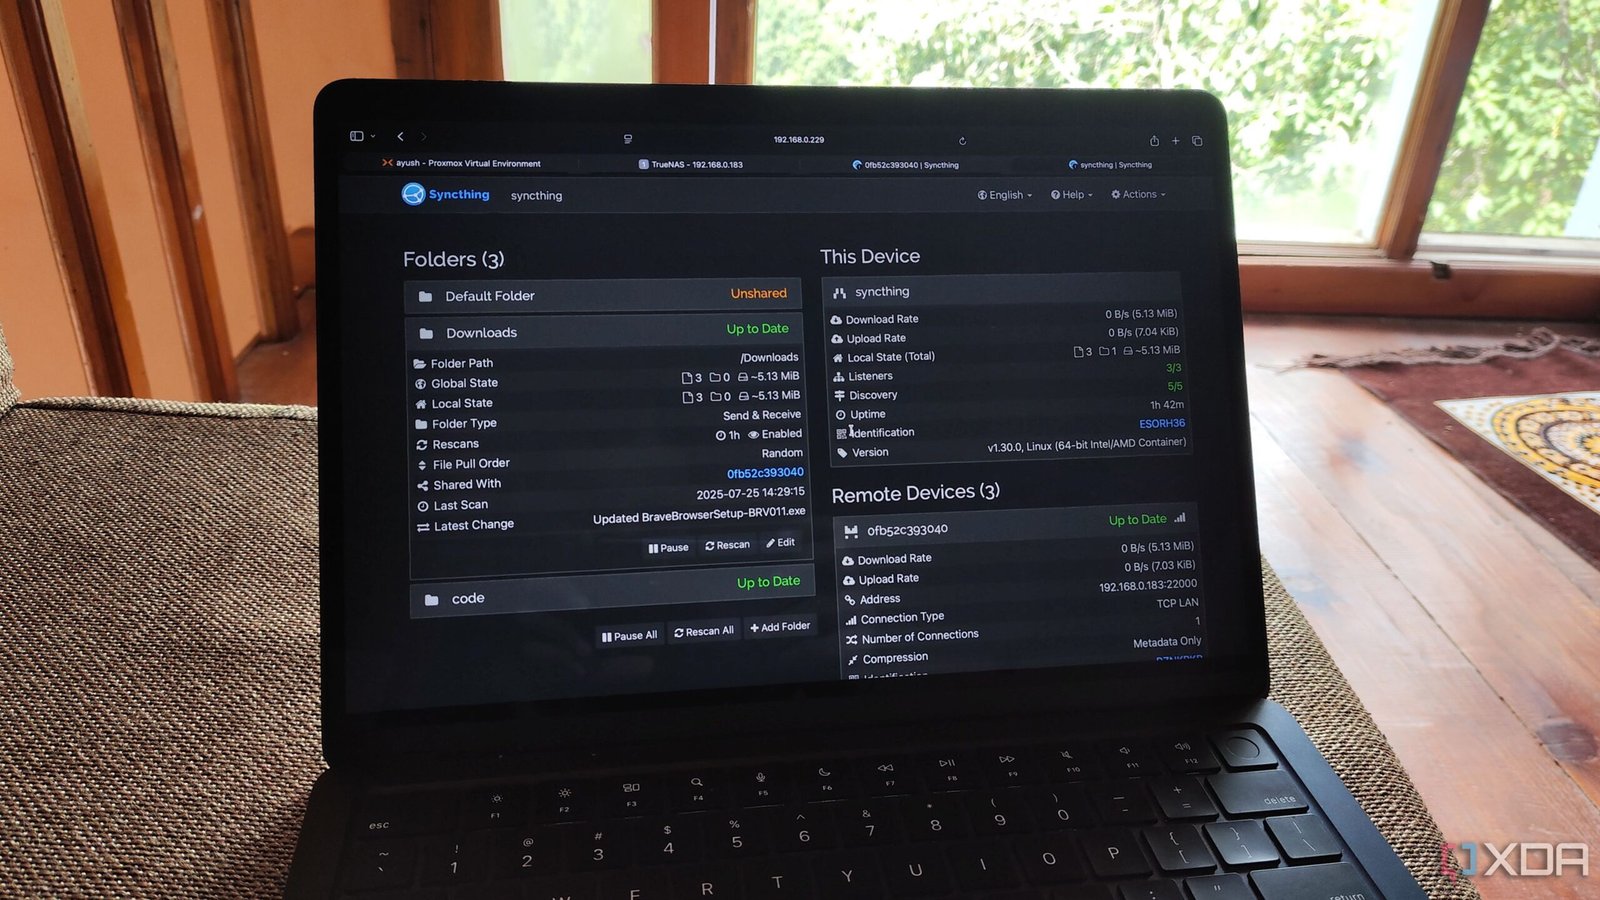
Anyway, connecting multiple Syncthing nodes is just as simple. The Device ID section within each node contains a long string of characters, and after entering it inside the Add Remote Client option, my TrueNAS Scale-powered Syncthing container showed up in my PC’s web UI. However, I had to enable the connection on my NAS-based Syncthing interface as well.

After clicking the Add Folder button, I added the directory path of my Downloads folder, granted my NAS node access to the folder, and enabled file versioning before clicking the Share button. Just like the previous step, I had to accept the share request on my NAS and choose the directory where Syncthing would store the files. Within the next couple of moments, Syncthing had finished copying all the files to my TrueNAS Scale container.
A bunch of separate folders, bound together by Syncthing

Once I’d paired the Syncthing instance on my PC with TrueNAS Scale, I spent the next hour replicating this setup across multiple devices, including my SBCs, Proxmox hub, mini-PCs, and Mac. A bit excessive, yes, but it will make sharing files a complete cakewalk. I also configured file versioning and set up “send only folders” for certain save files and coding documents, so Syncthing doesn’t accidentally write data to the source directory.

Related
I use Proxmox Backup Server to save my VMs and LXCs to TrueNAS over NFS – here’s how
It’s a fully-automated backup procedure that saves my VM and LXC data to my trusty NAS